Question 1
Written assignment (Research and analysis) (1 hour)Draw up a list of the most important aspects of a product photograph. Refer to shadows, lighting, quality, ISO and editing in your answer. Mention at least five things.
Quality
In product photography the image quality should be as high as possible. Image quality is always supposed to be good, but in product phtography there is very important since the product should be enough without adding some personal ingredients to it.
Lighting
Lighting is also very important in product photography. The easiest way is to use artificial studio lighting, as this gives you the total control over lighting. The object must be illuminated in full. Soft light is normally preferred. Hars shaddows should be avoided.
ISO
In product photography the ISO value must be kept at a minimum, this to avoid noise and grain. When setting the ISO to the minimum there is very important to have enough lightning.
Focus and sharpness
In product photography you usually keep the entirety object in focus. But this could depend on the size and depth of the object in the photograhpy. Use of equipment as , a tripod, a timer, and deselecting image stabilization helps to avoid unwanted shaking.
Editing
There should be a minimum editing done afterwards in product photography. It could be very time consuming to edit afterword. The best thing is to set the lightning, camera settings and have the phpt in RAW format when shooting product photagraphy.
Question 2
Practical assignment (6 hours)
- Make your own DIY light tent.
- Take product photographs of the following objects:
- Something fluffy, like a stuffed animal
- Something shiny, like a knife and fork
- Something hard, like a book or a mug
- A liquid, like a glass of wine
- Draw a diagram of your lighting scenario for each of the above photographs and submit it along with the photographs.
- Edit your photographs with the software of your choice. Write an accompanying paragraph for each of your photographs and explain what you did during the editing process.
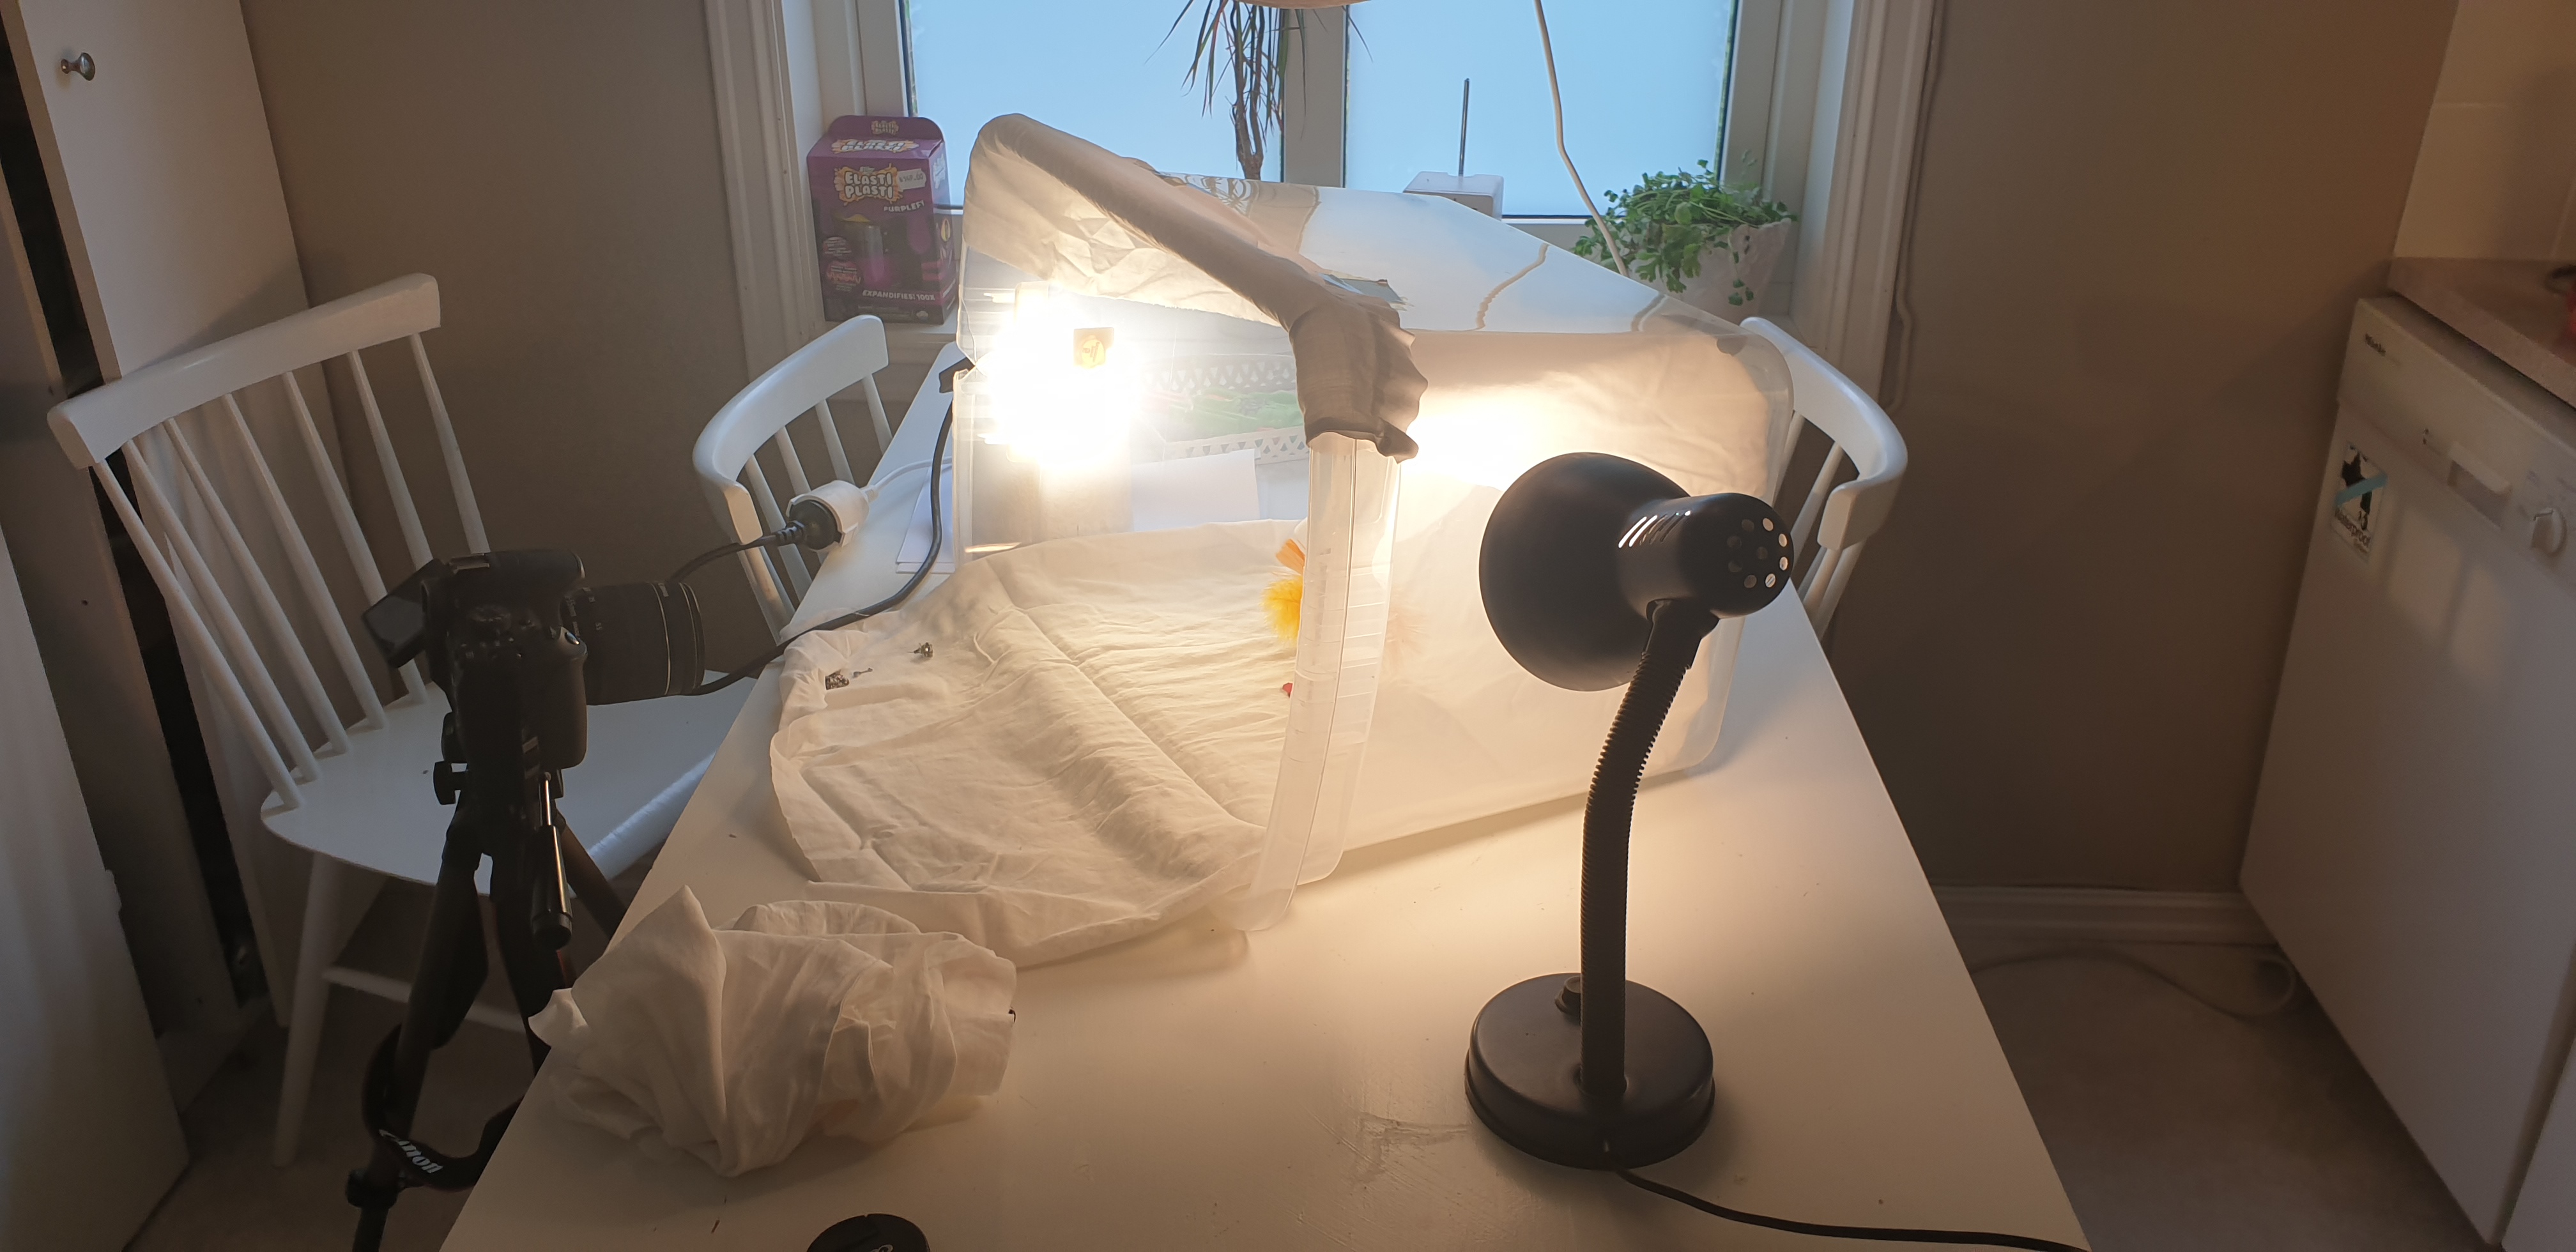
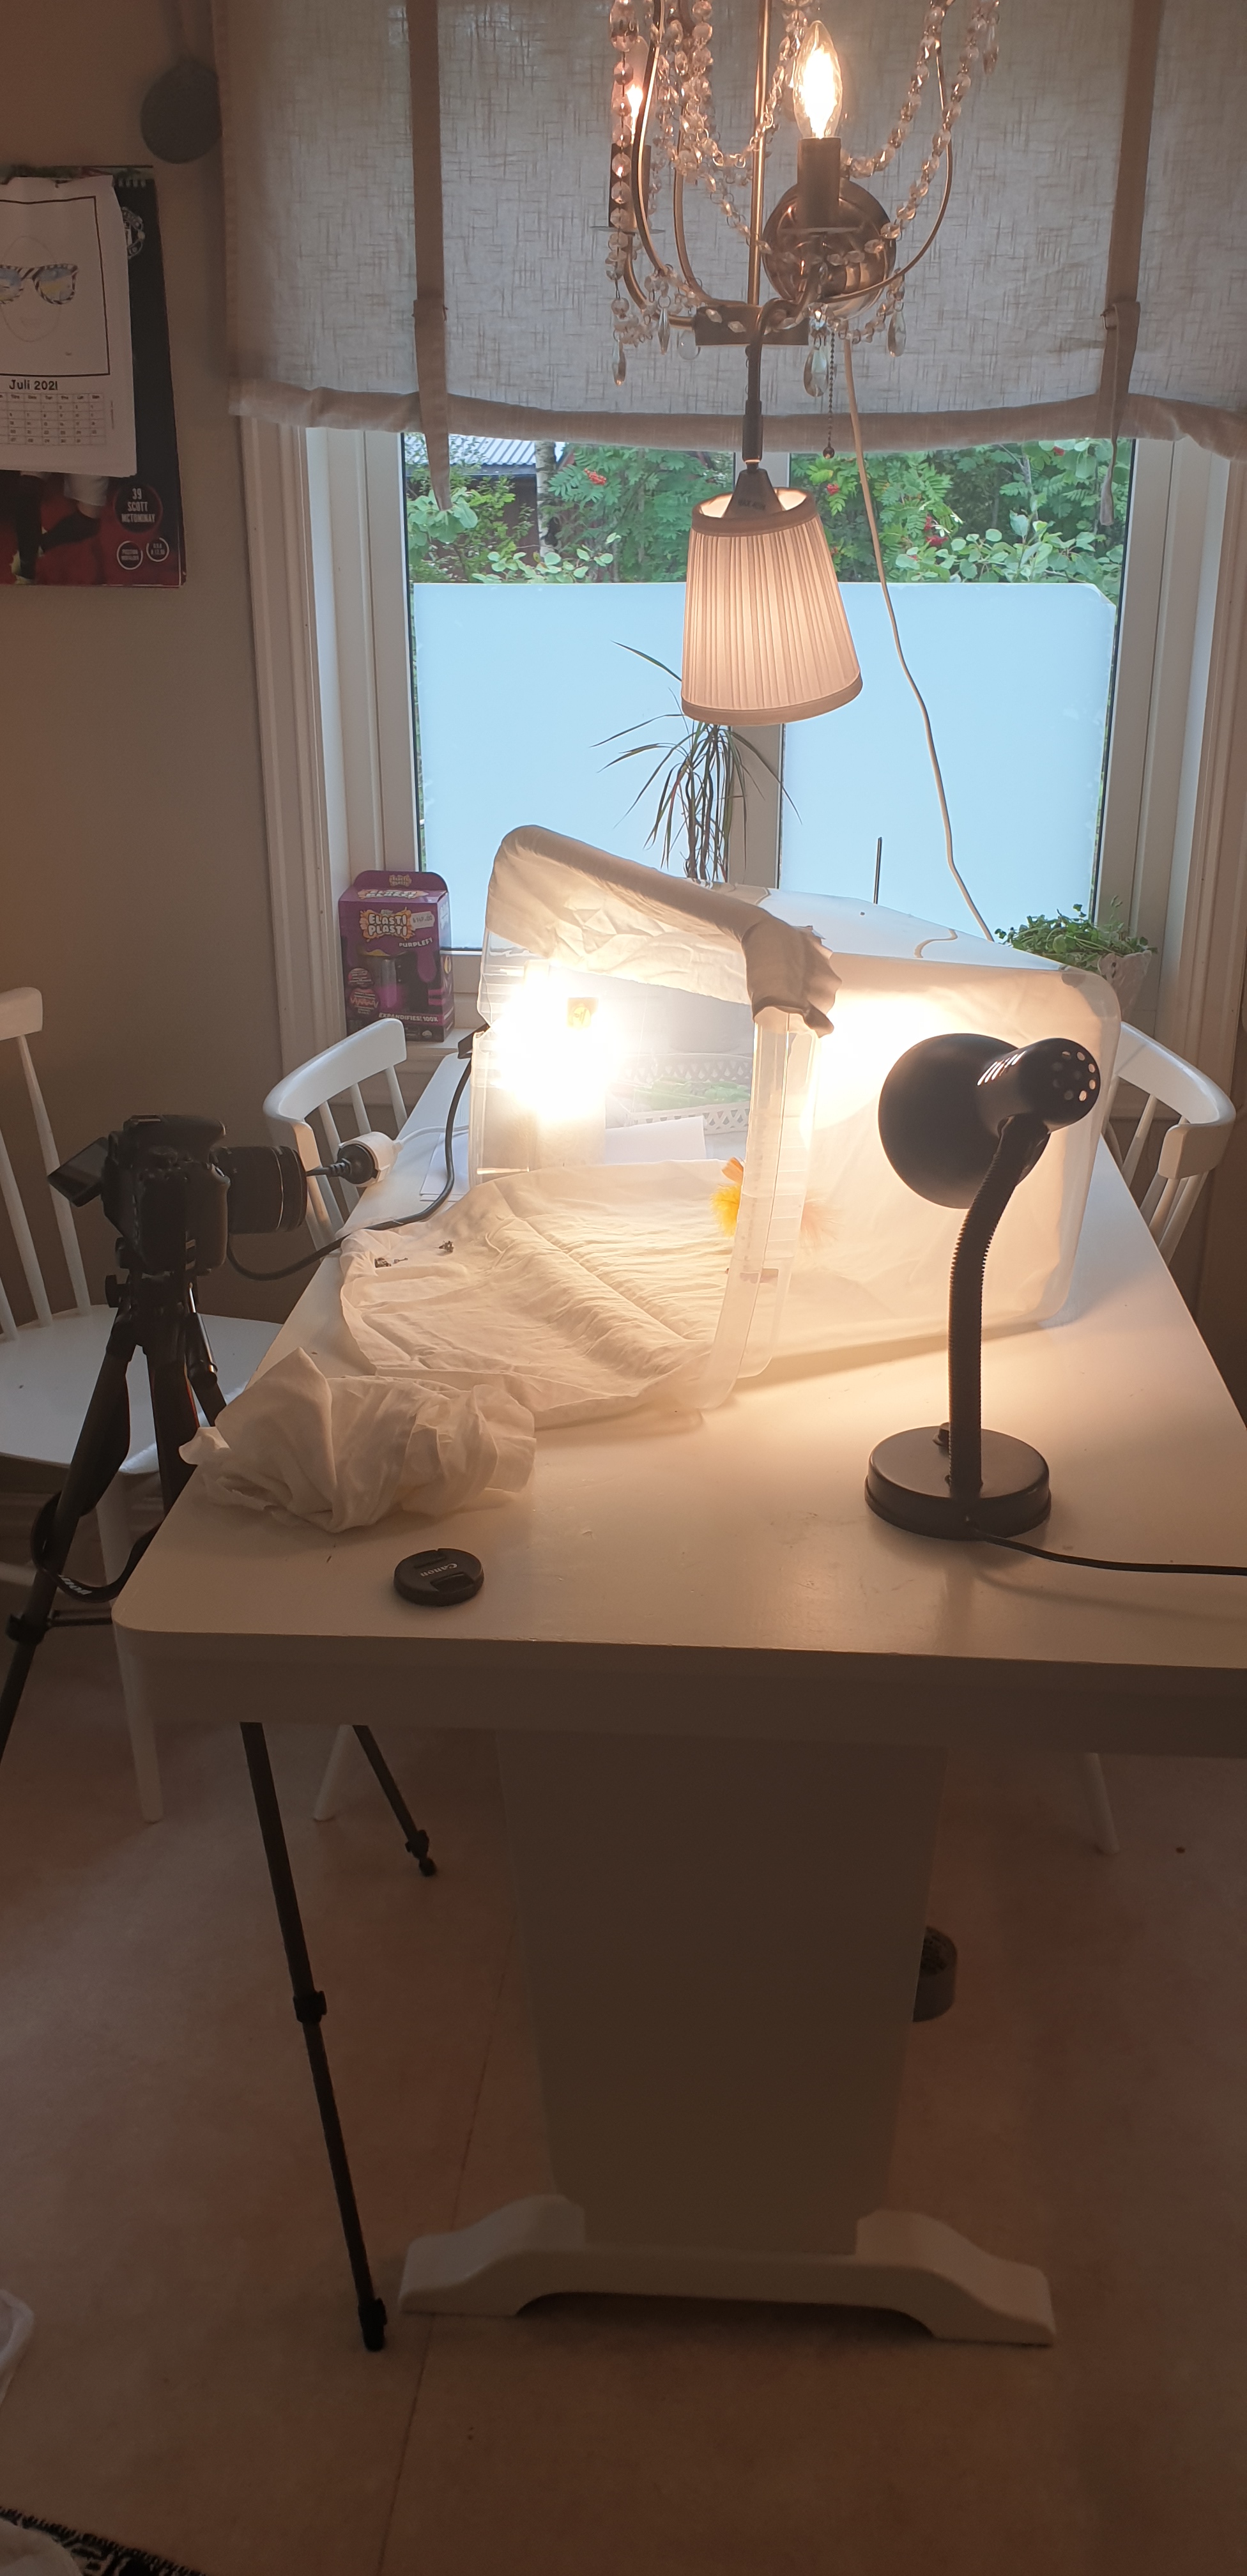
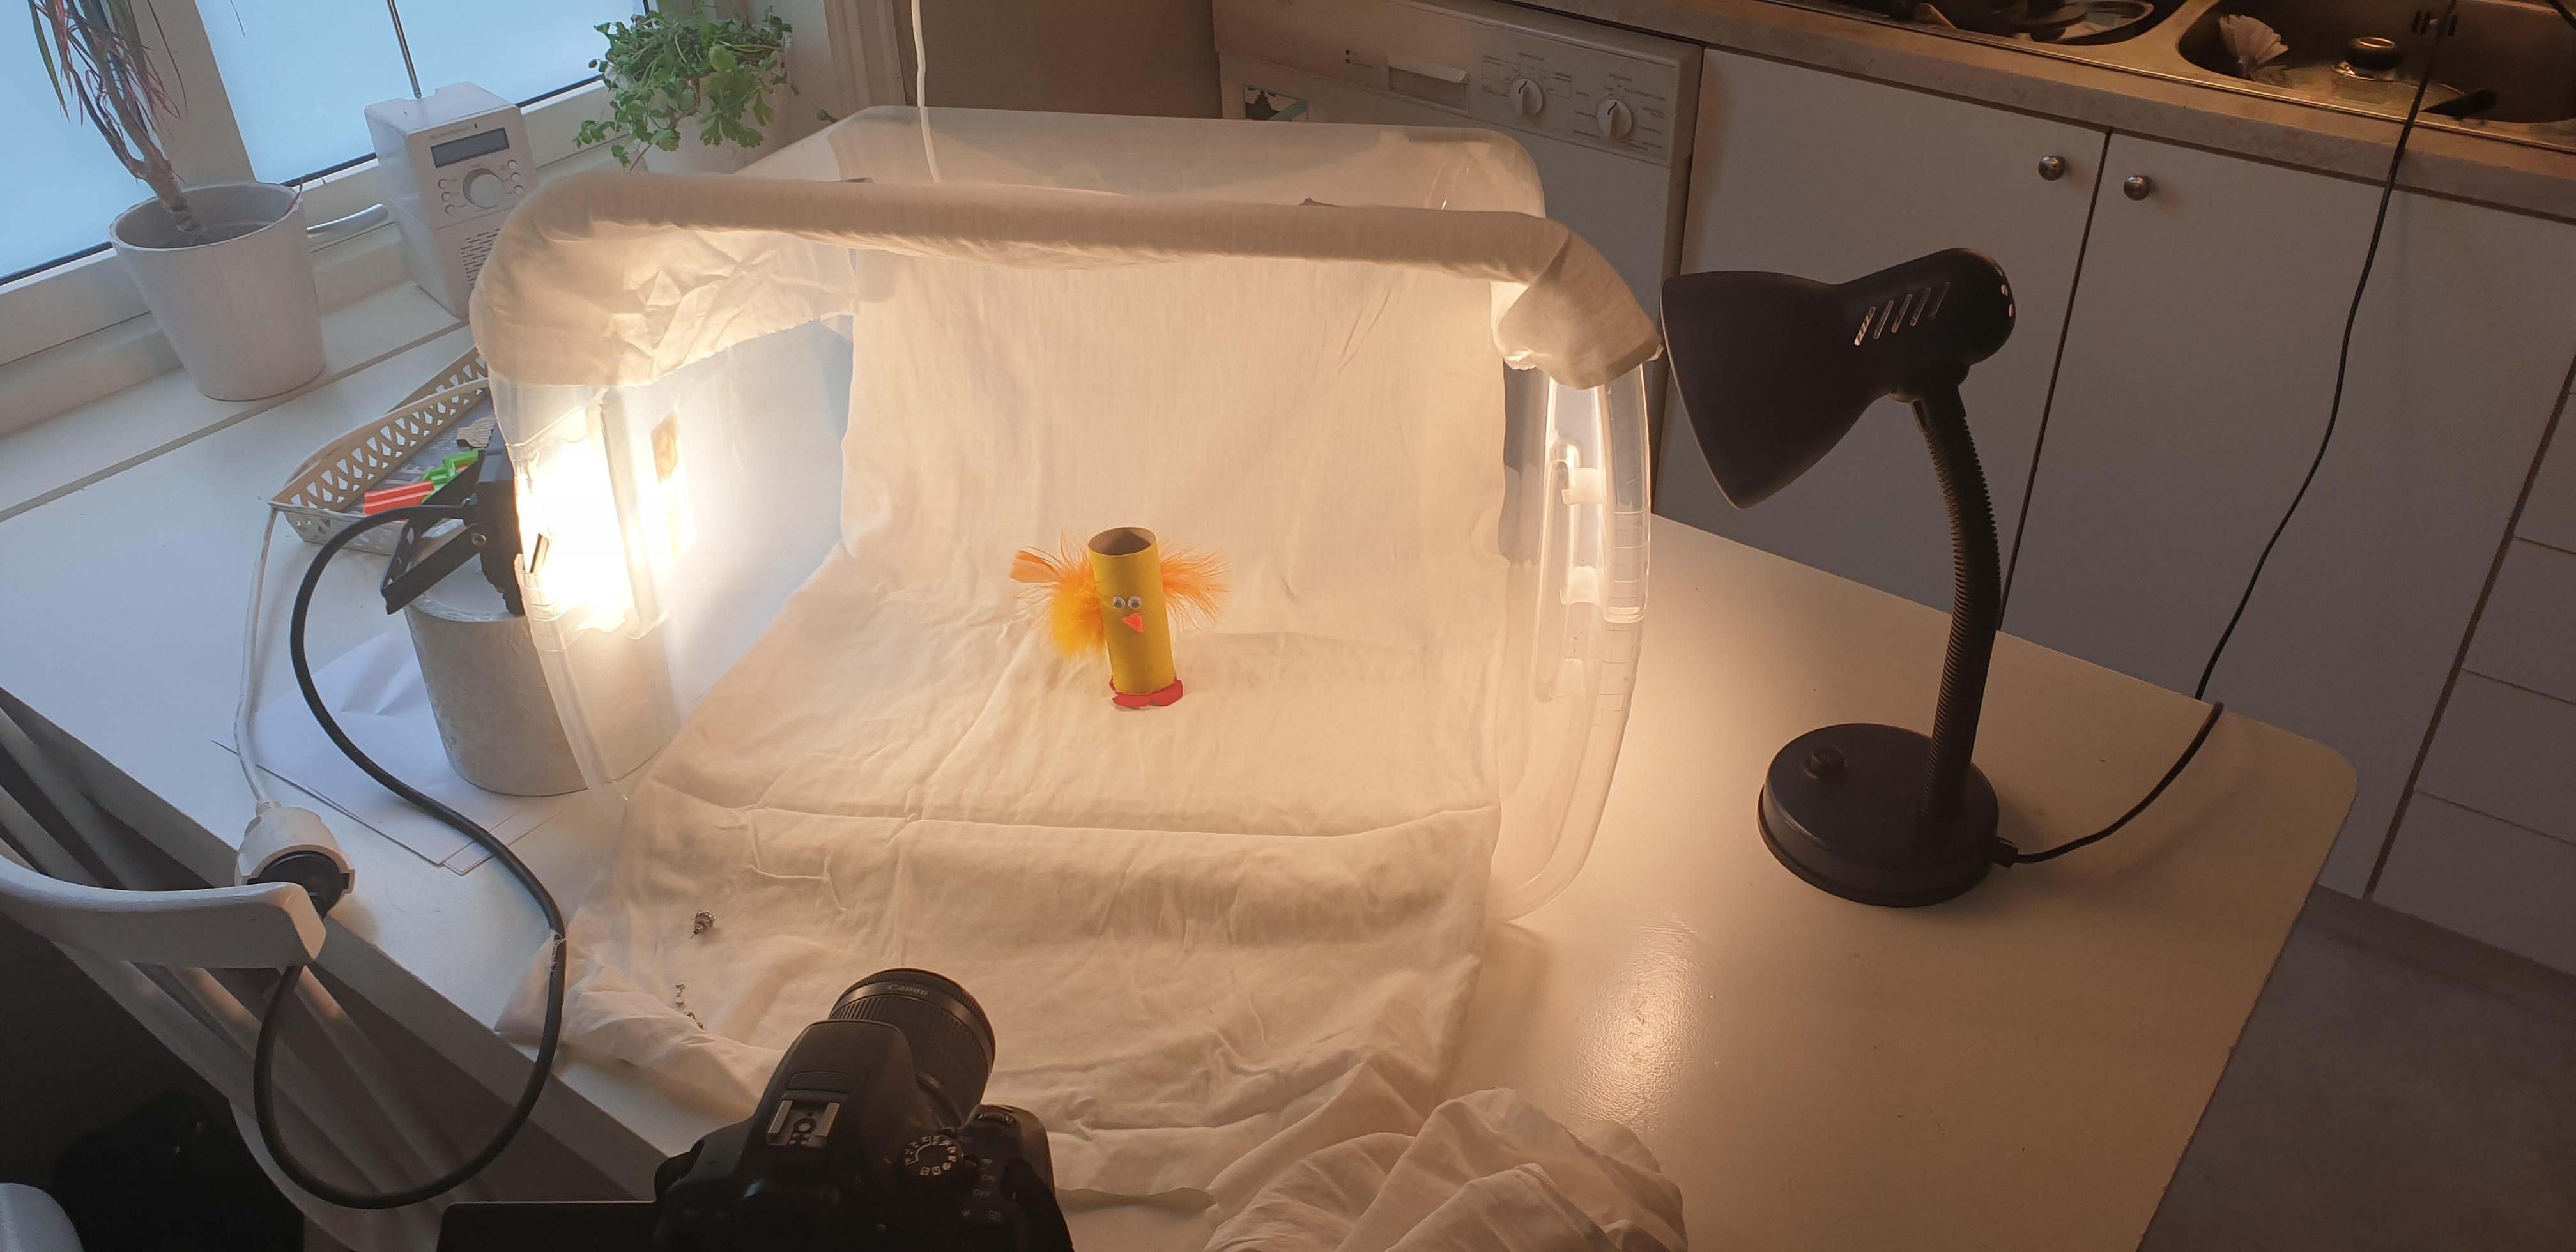
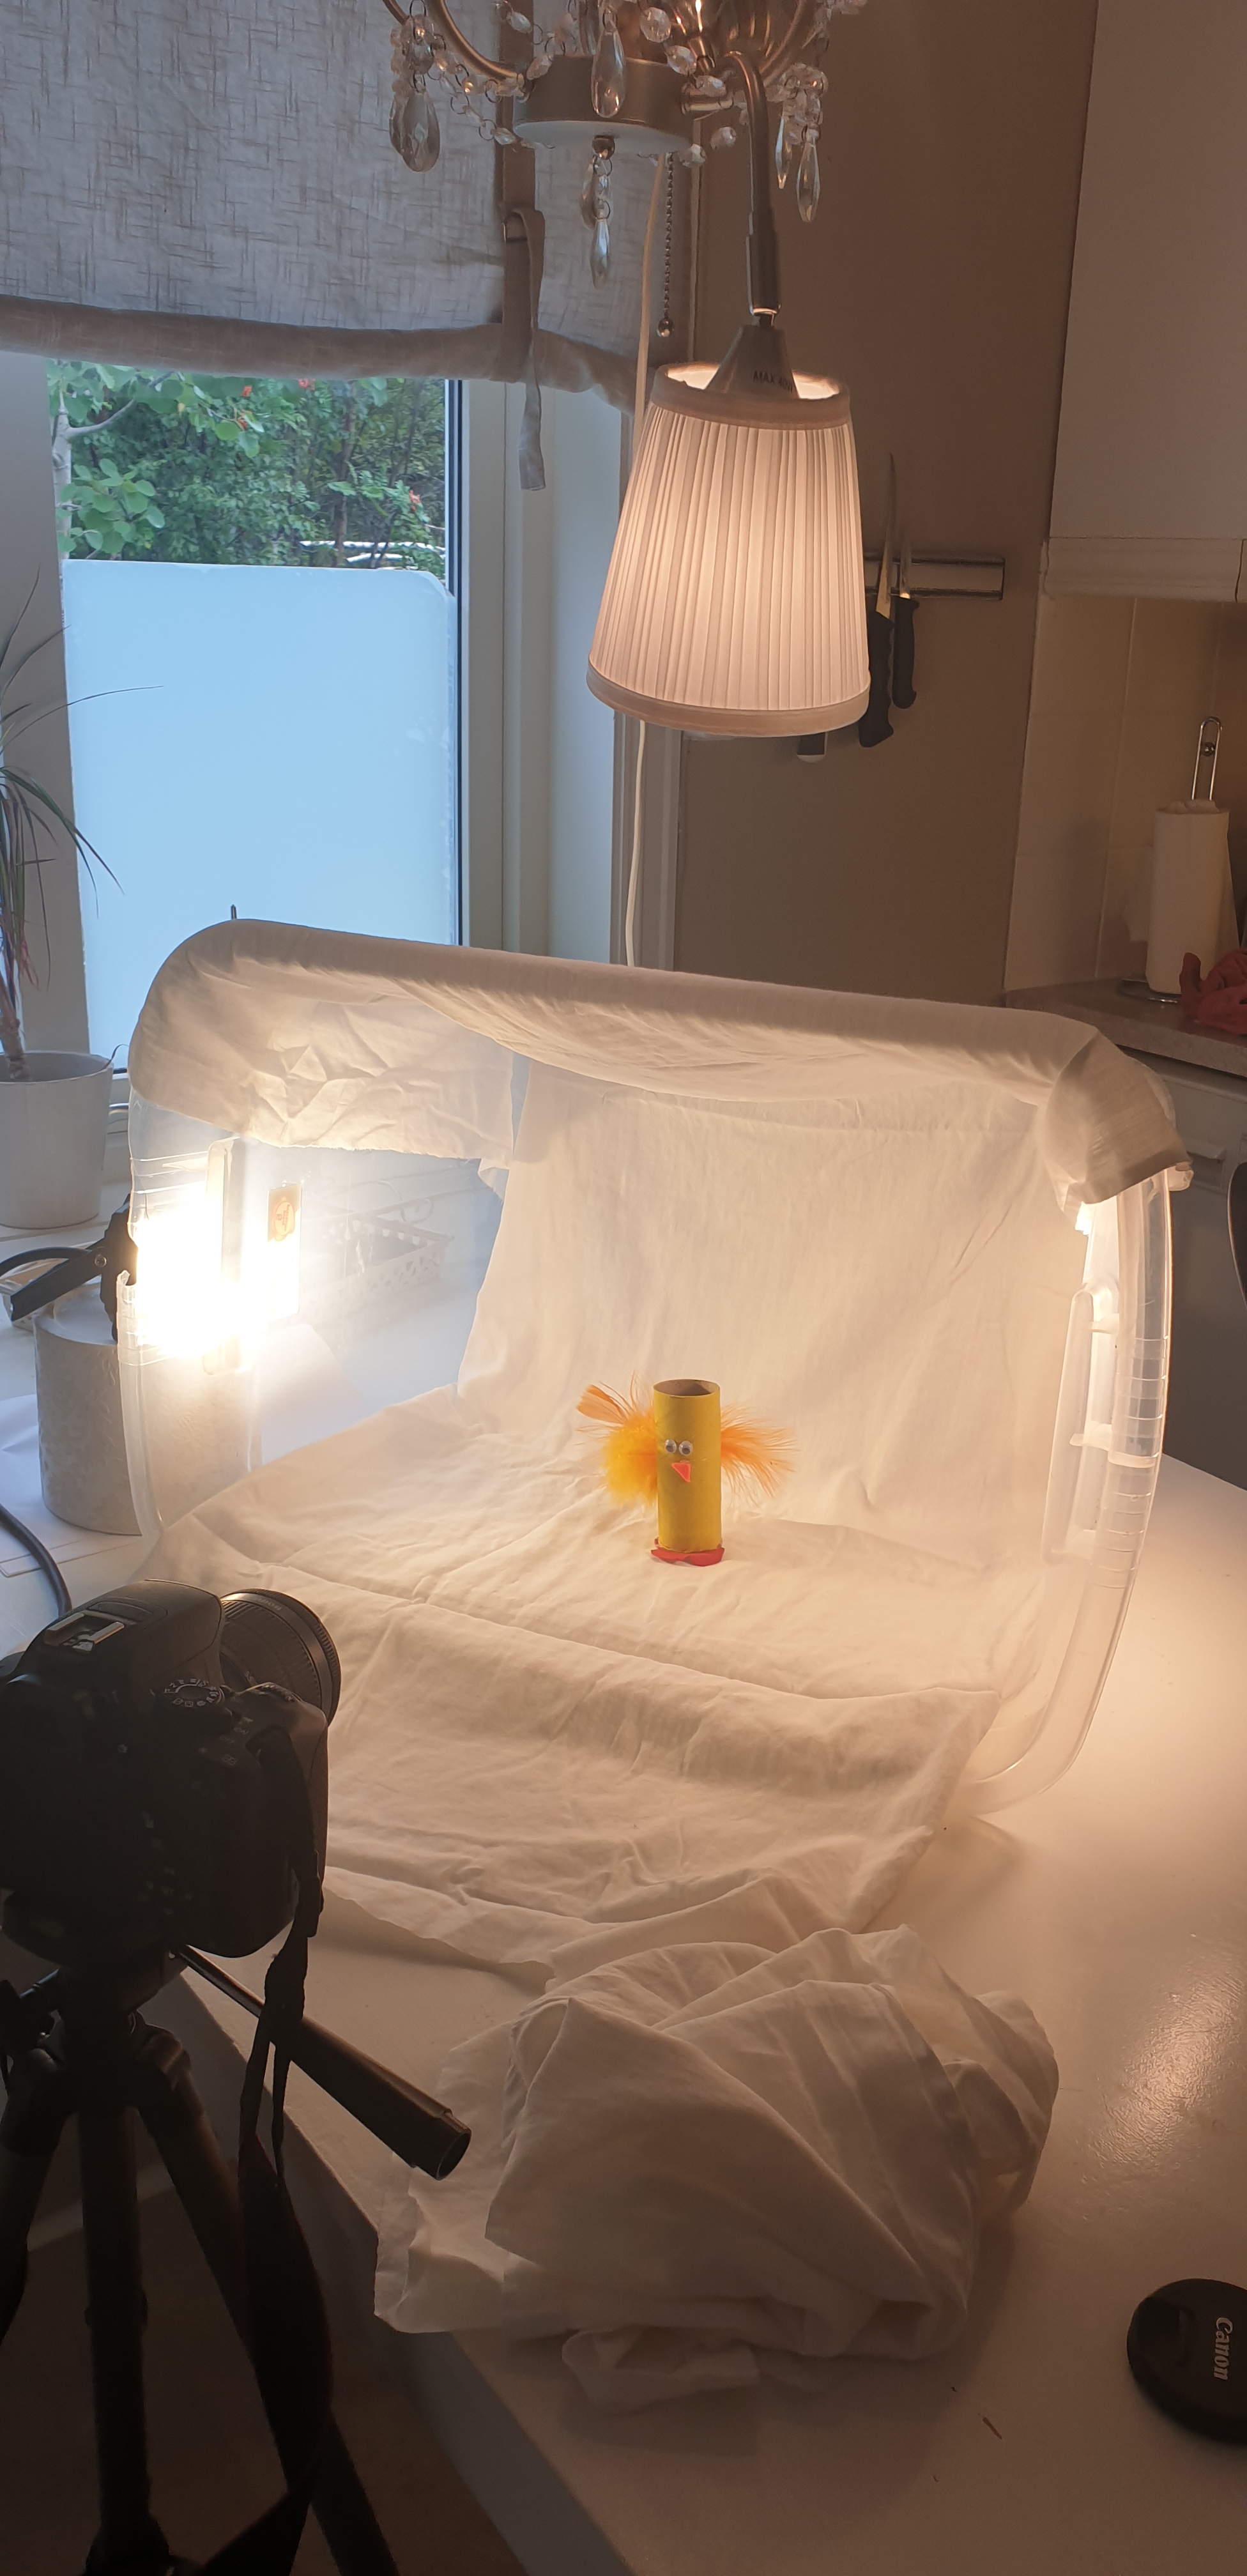
Here you can see how I made my homemade DIY light tent. I took a plastic box, placed a thin white sheet inside it. This to make a soft whute background. I placed the light at each side and one above the box as a base. The light source that I have is not the best for photgraphy, but I tried to make the best of it with the equipment that I had.
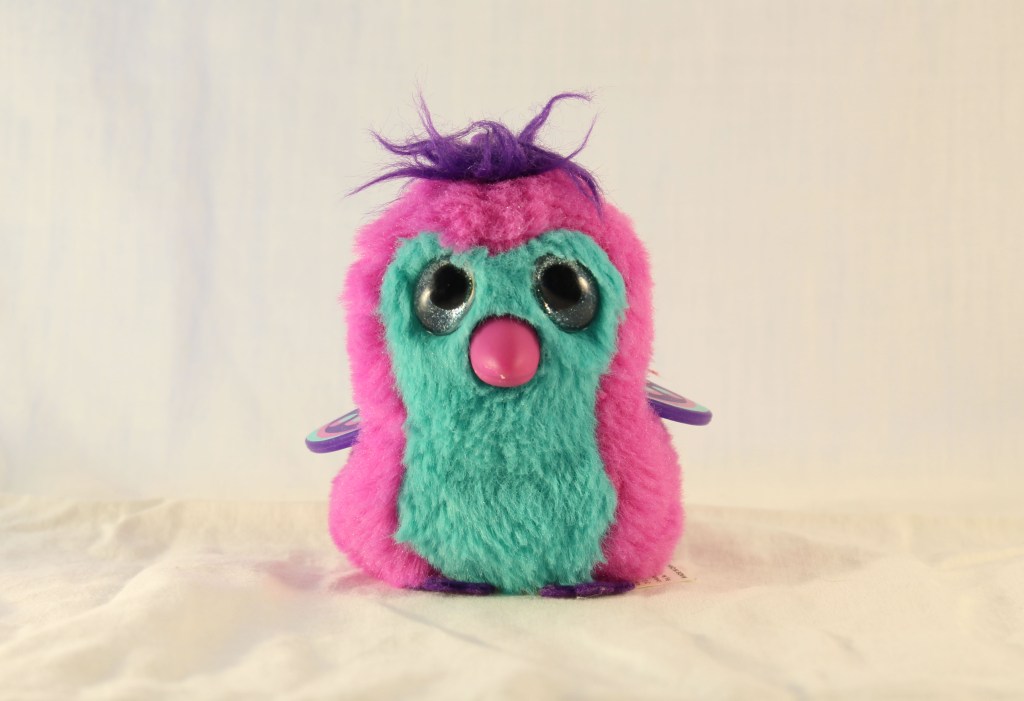
F:5,5 – 1/25- Iso 100
For this fluffy picture I chosse to use one of my kids little teddy bear. I hade the same tlightning as you can see at my setup. Two at each side and one at the top. I did not do any editing in photoshop whit this picture, only cropped it to get rid off the edges that I dod not want to have in the picture.
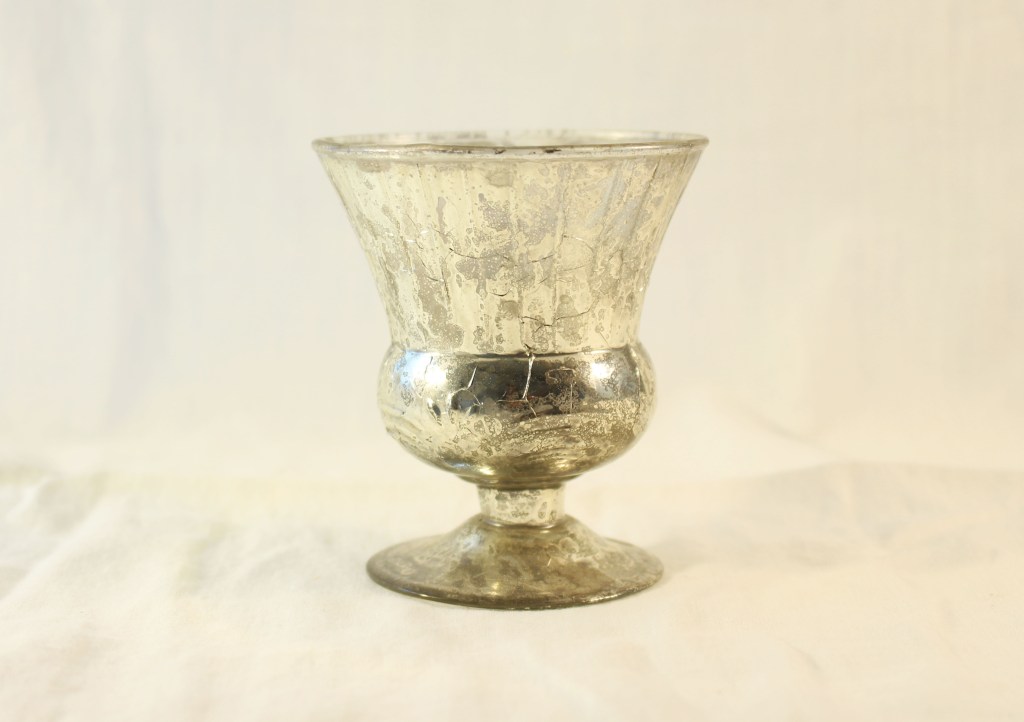
F: 5 – 1/40 – Iso 100
I think this was one of the hardest photo to shoot, with the equipment that I had. I used a little candlestick as the product. I did not want the lightning to reflect in the prdouct, but in the same time I wanted the product to shine. I tried several position with lightning, but ended up with one of each side, and one above but more in front than the other set up. In photoshop I only did some contrast editing and cropped it.
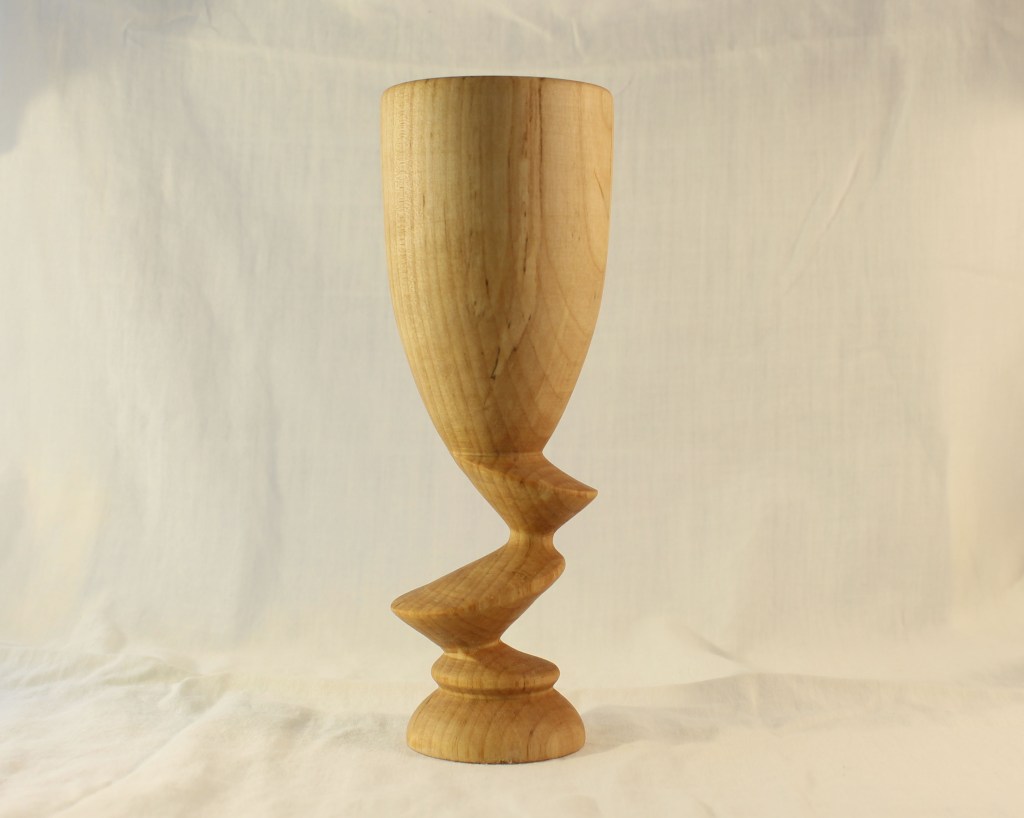
F : 5 – 1/50 – iso 100
For this picture I used a wineglas made of wood. The glas has a very nice shape and my maingoal was to make that show in my picture. Here I placed the light at each side and one above. I think the smooth light from the right made a nice shaddow at the glas, and yhe shape did came out nicely. I did not do any editing with this picyure in photoshop, just cropped it to get a better angel.
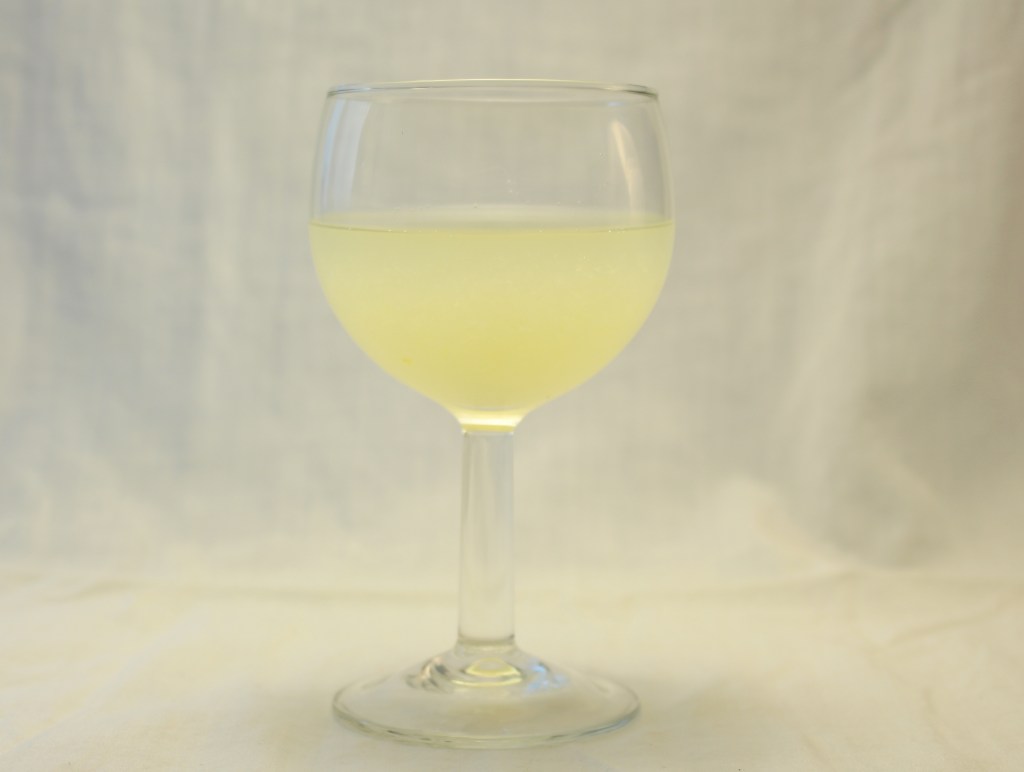
F: 4,5 – 1/50 – Iso 100
For this locuid picture I used a small wine glas and had some lemon juice in it. This picture with the shiny picture was the hardets to do, with ly lightning equipment. Here as well I did not wanted the light to replect and show in the product, but this was quite hard. I placed some of the thin sheet I used for the background in front off the lght to try to get a more softer lightning. This worked a bit. Here the lightning is one each side and the light above is more in front. In photoshop I did some light and contrast editing and I cropped the picture to get a better angel and closer view.
