For the last two weeks the learning activity was to get to know my own camera. I had a fun time trying to make the best of my pictures. It is a lot to think about, iso, aperture and shuttertime. I think i have to practice a lot to get it perfect.
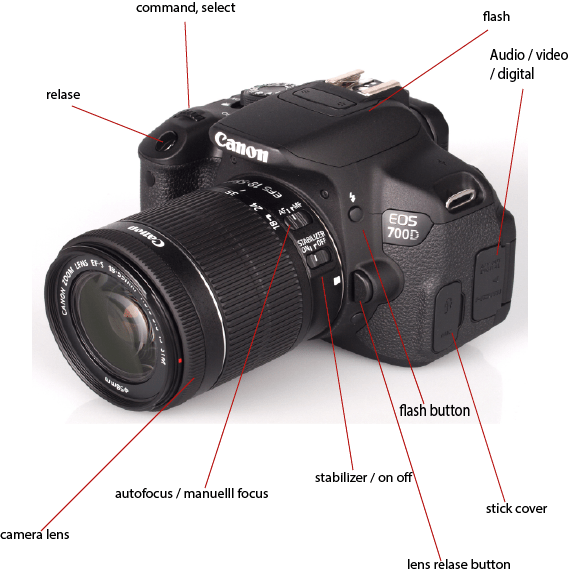
- Name all the functions / buttons on the front of your camera
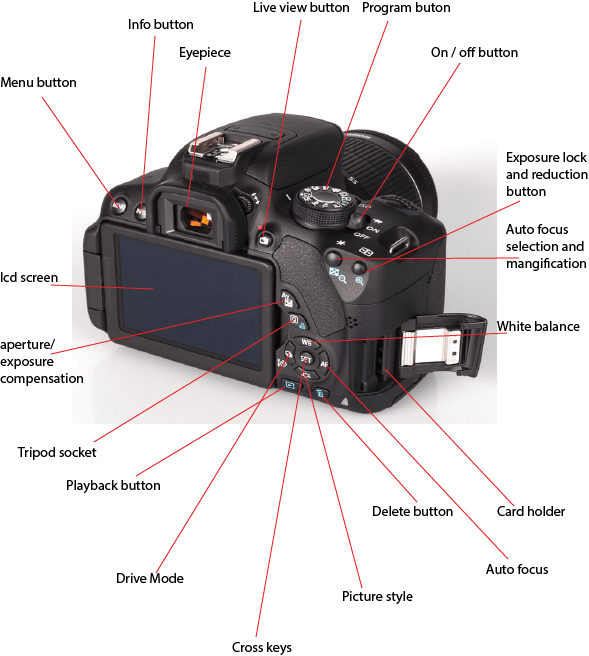
2. Name all the functions / buttons on the back of your camera
3. Explain how you would set the correct ISO
Push the ISO button and use the command button to choose the right iso value, and then push set.
4. Explain how you would change the aperture
Turn the program selector to «AV». Set the desired aperture. The higher the f / number, the wider the depth of sharpness. How sharp the focus is on the fore and the background. If you set the selector to the right, you set a higher f / number (smaller aperture). If you set the selector to the left, a lower f / number is set. (larger aperture )
5. Explain how you would change the shutter speed
Turn the program selector to «TV».
Set to desired closing time. Turning the selector to the right sets a faster closing time and if you turn it to the left, a slower closing time is set. Fast closing time is 1/2000 sec, slower closing time is 1/30 sec.
Take five pictures every day for the next five days. The subjects of your pictures can include a series of different objects, people and landscapes. Apply the manual settings as explained in your textbook. Submit your six best pictures at the end of the week, listing the following with each picture:
- ISO
- Aperture
- Shutter speed
It will be to your advantage if some of your pictures showcase motion blur and depth of field. In other words, I would like to see that you’ve experimented with the different exposure settings that were discussed in this module
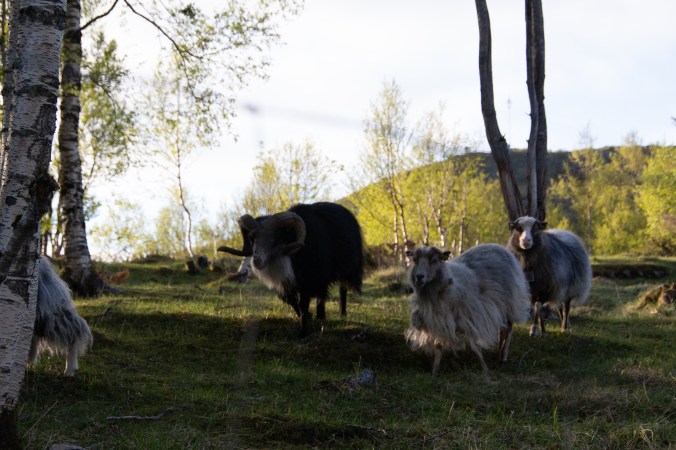
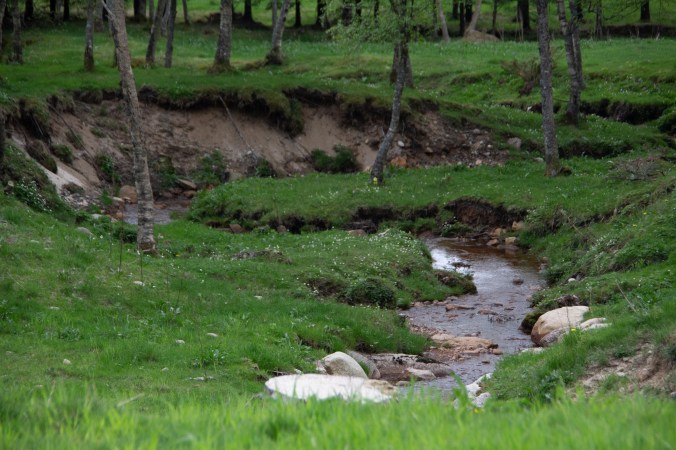
1/2000 f6.3 Iso 1600
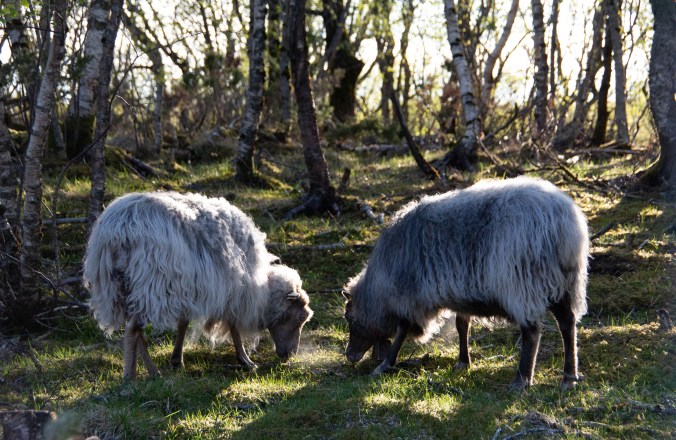
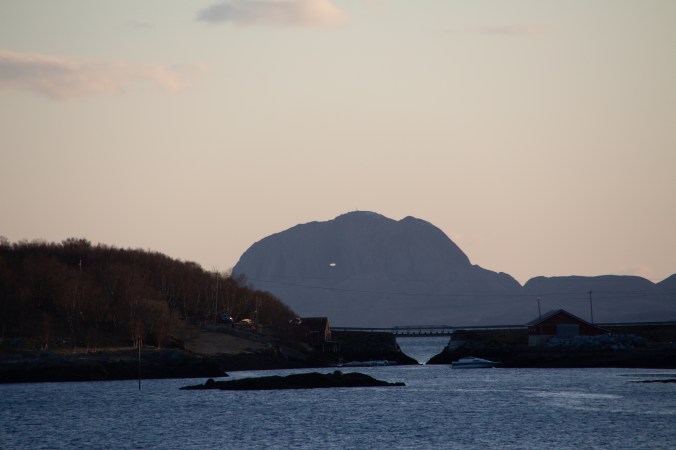
1/640 f5.6 Iso 800

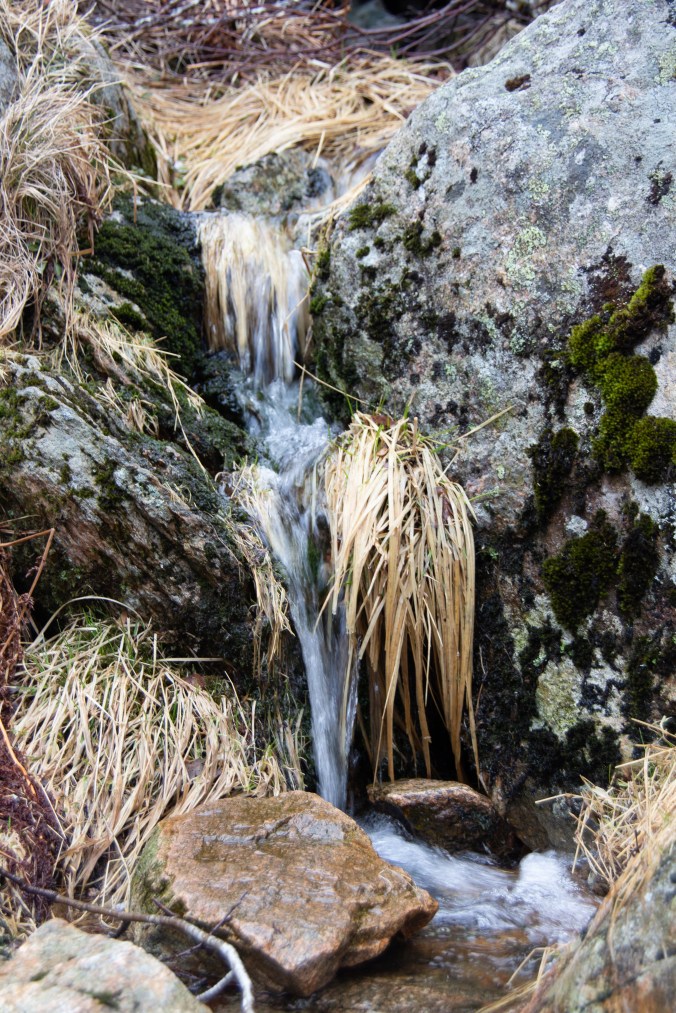
1/500 f6.3 Iso 1600
1/800 f5.6 Iso 800
1/400 f7.1 Iso 200
1/60 f5.0 Iso 200
